
Braided hose is a critical part of many of the things we use on a daily basis, be it a car, a bike, or machines. It assists in safely transporting fluids from one area to another. Braided hose is fairly easy to install with a bit of practice and some tips. At Weiyue, we want to support you in this voyage and help you to learn, how to install braided hose step by step.
How to install braided hose: A step-by-step guide
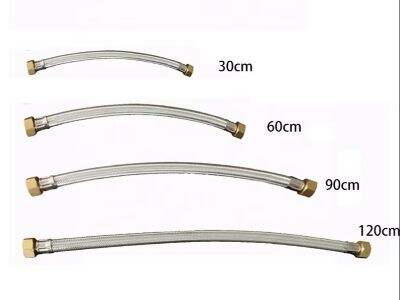
Cut the Hose: The first step is to cut the braided hose to the desired length. Be sure to measure carefully so you know how much you need. For the most clean and straight cut, use special hose-cutters made for this type of work. Dies are very similar to taps and are used with a die holder in order to cut threads onto the outside of a hose; using the right tool helps to ensure the hose isn't going to be damaged and that it is going to fit correctly.
Slide in the Fitting: Now slide the fitting straight onto the open end of the hose. Holding the hose is a connector (fitting) that connects the hose to something else such as a fuel line or brake line. Before going on to the next step the fitting needs to be on tight; just as this is a very important step. It could leak later if it is not safe.
Connect Hose: Once the fitting is properly on, you can connect the opposite end of the hose to the appropriate location. This can be a fuel line, a brake line, or wherever else you need a flexible braided hose connection. Pipe together properly to ensure that it works as intended.
Hose Clamps to Secure: Finally you will need some hose clamps to secure the fitting. These clamps also aid in securing everything tight and avoiding leaks. Ensure the clamps are not overly tight to the point of damaging the brass hose fittings itself, however tight enough to prevent any leaking. Achieving the right balance is critical for a successful installation.
Advice for Using Braided Hose:
Measurements Matter: Be extra sure if your measurements before cutting the braided hose. Way better to measure twice and cut once so you don’t make any mistakes that would cost material. It will make it easier to spend time upfront and save time down the line.
Use Lubricant: It’s always a good idea to lubricate the fitting before putting it into the hose. This will allow the fitting to slip in place easier and avoid damage to the hose during installation. A small amount of lubricant greatly simplifies the process.
Hose Clamps: When you are hand tightening the hose clamps, it’s best to use a torquewrench. This tool ensures that the clamps are properly torqued up to the specified guideline. If too tight, the clamps can damage the hose; if they’re too loose, they can cause leaks.